How to setup an email alert for high Active Message count for Azure Service Bus Queue


How to setup an email alert for high Active Message count for Azure Service Bus Queue

Photo by Hugo Jehanne on Unsplash
This post assumes that you have an Azure service bus namespace setup with a Queue. Here is the official documentation for instructions.
I am going to use a service bus namespace AlertDemoServiceBus which has a queue named Orders.
Lets start!
Login to you account and navigate to the service bus namespace.
Click on Alerts and New Alert Rule


This should open a new alert rule page. Here, we select the resource, which is our service bus namespace. If have only 1 service queue, then it should auto-populate.
Now, we have to set the condition for alert rule.

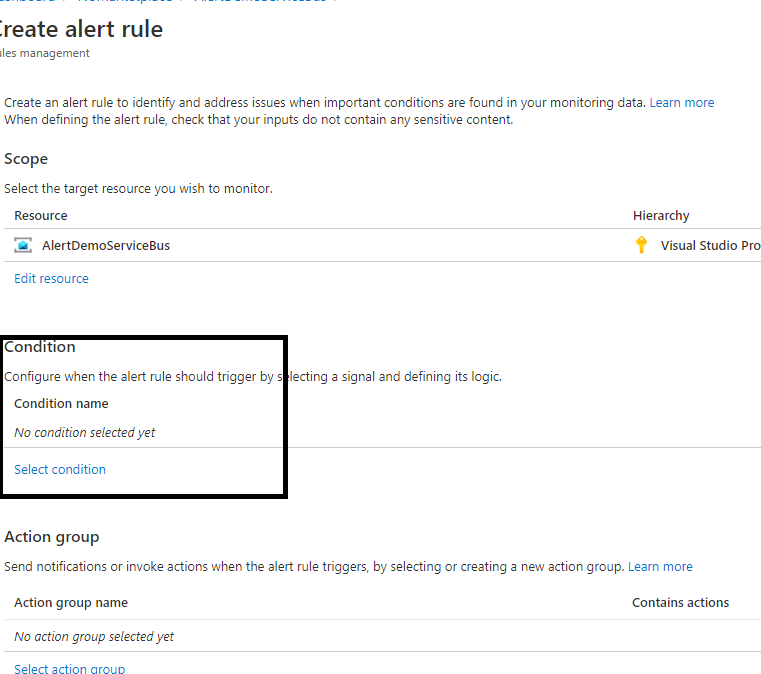
On click of select condition link, we get a new window in which we can setup the logic. We can setup alert on various signals as shown below but here we will using “Count of active messages in a Queue/Topics”

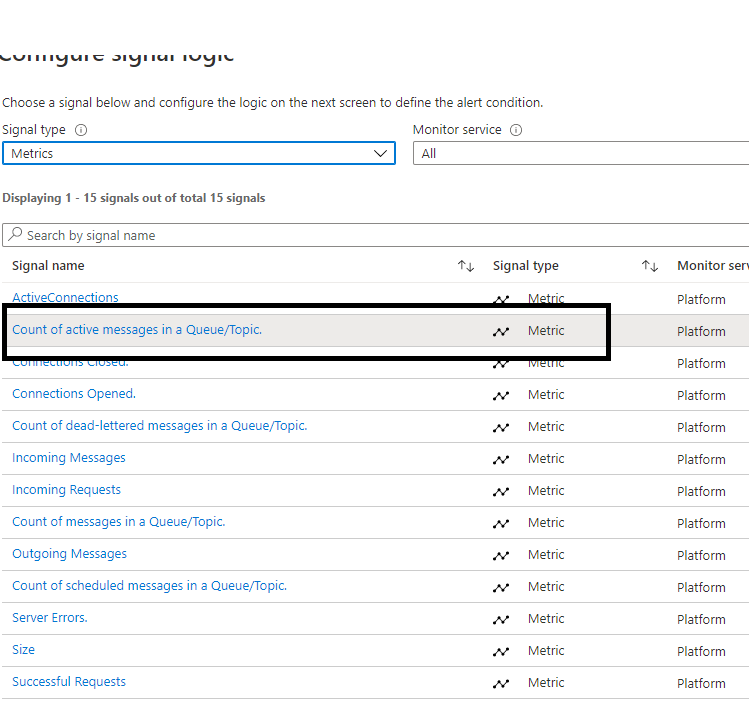
Once we select the base signal, on the next page we can configure the logic as below.

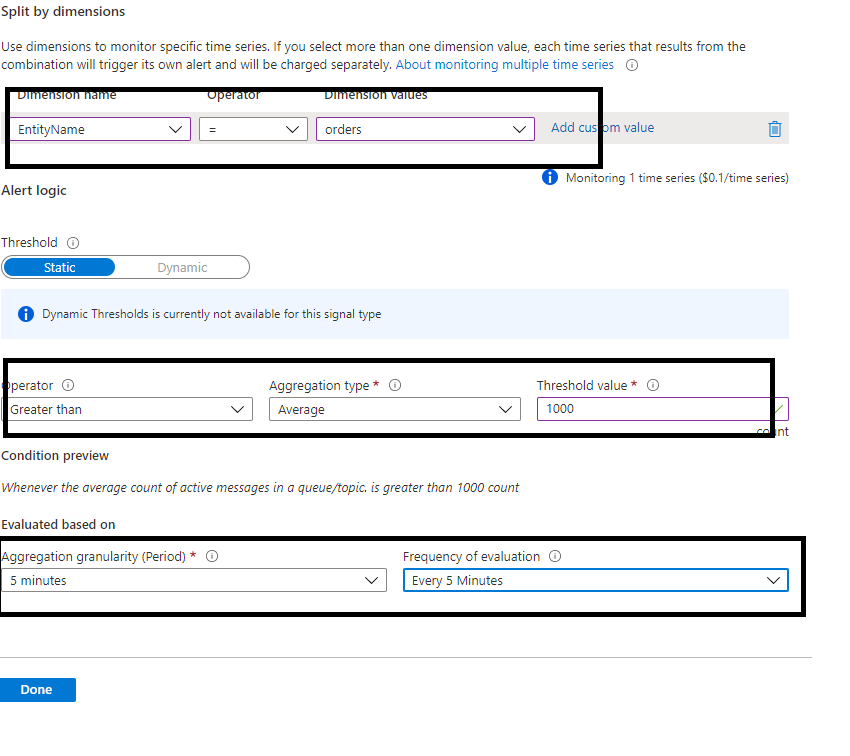
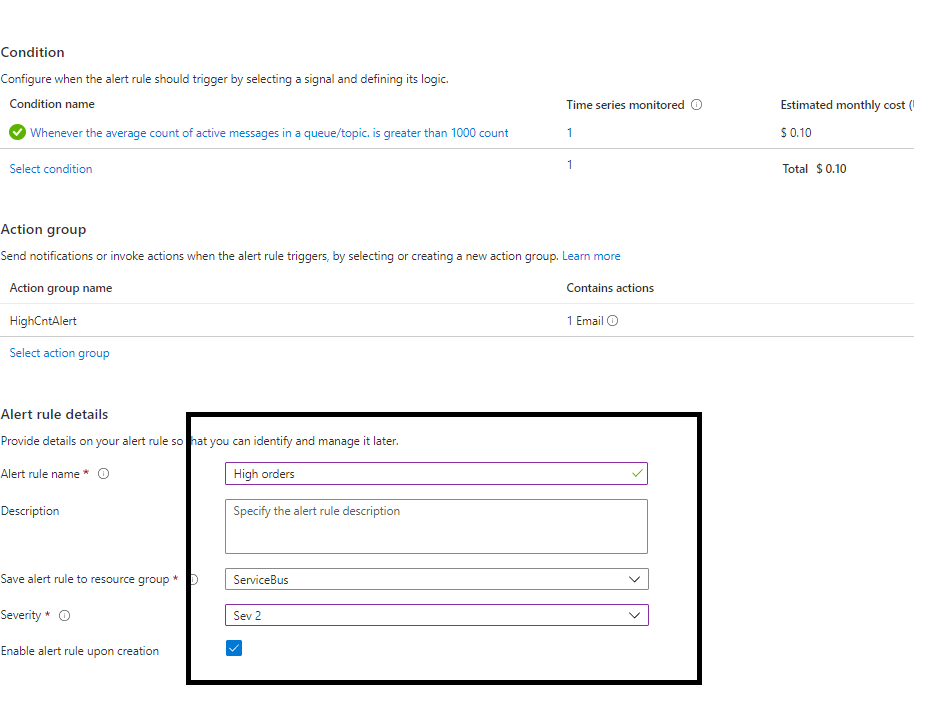
Here I am setting alert on Orders Entity with threshold as 1000 active message and the condition will be checked every 5 mins.
Next would be the part where we setup actual Alert email when the condition is met. We have to create an Alert Group to achieve that. This takes us through a wizard.
First step would be to name it. I am creating an alert with a name HighCntAlert


The next part would be setup notification.
Lets give it a name.

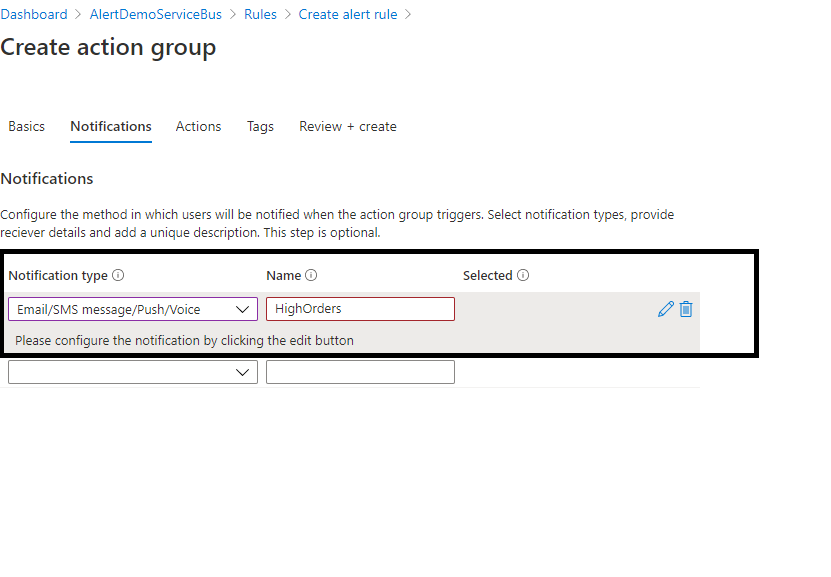
And provide an email address to receive an alert

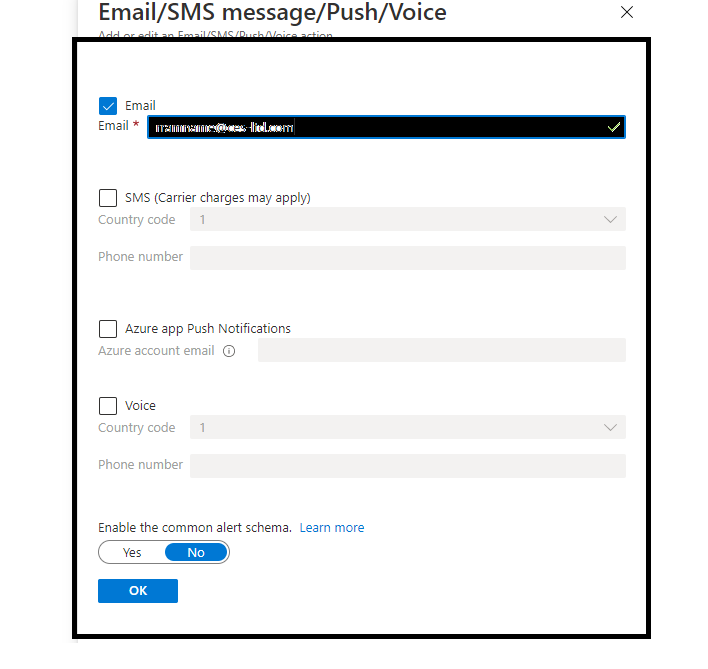
As we can notice here, we can also request for an SMS or voice message but it attracts extra charges.
Once its setup, we can click review and create. It should create an alert group with email as a notification option for us.
The as below, give it a name and severity Level and enable it upon creation to start receiving alerts immediately .

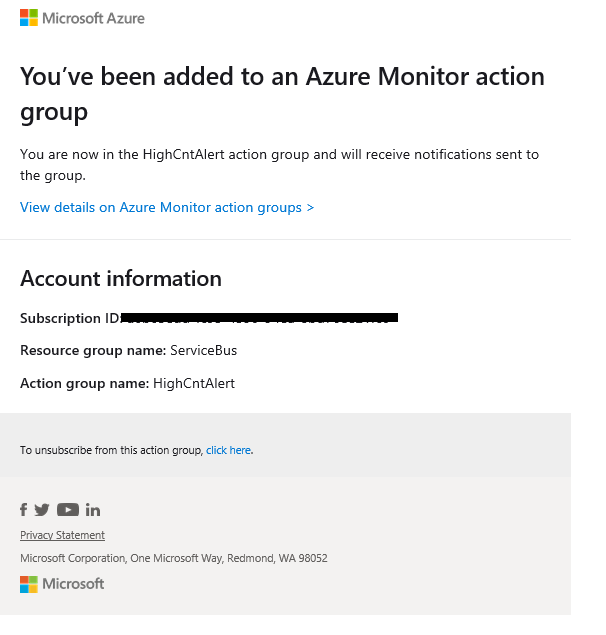
This should trigger a confirmation email.

Once its ready, we should be able to see it under “Manage Alert Rules” menu.

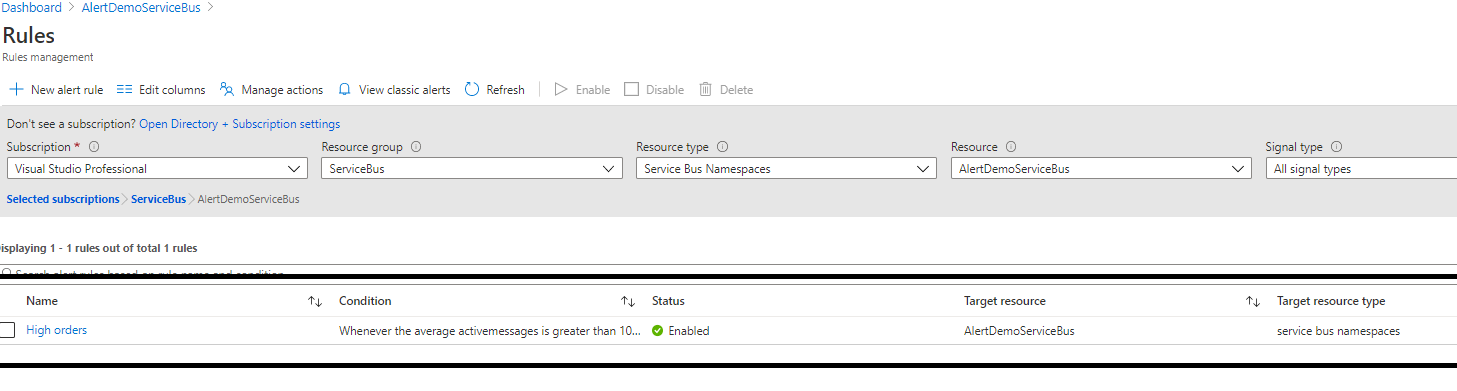
We are all setup!!
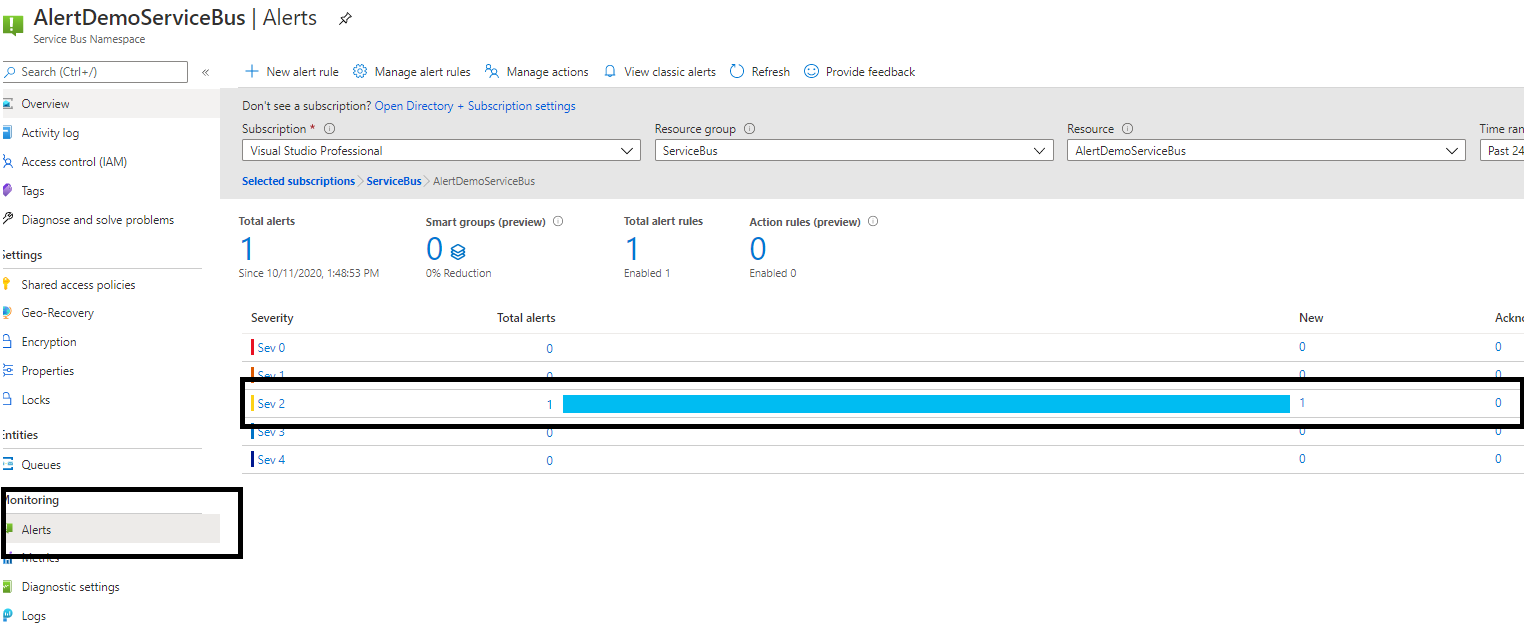
Now, when the queue count goes to 1000 as per our condition, Azure will create an alert. We can see this alert by navigating to “Alert” menu on the namespace.
We have to wait for 5 mins for azure to trigger the condition as we had configured in our rule above
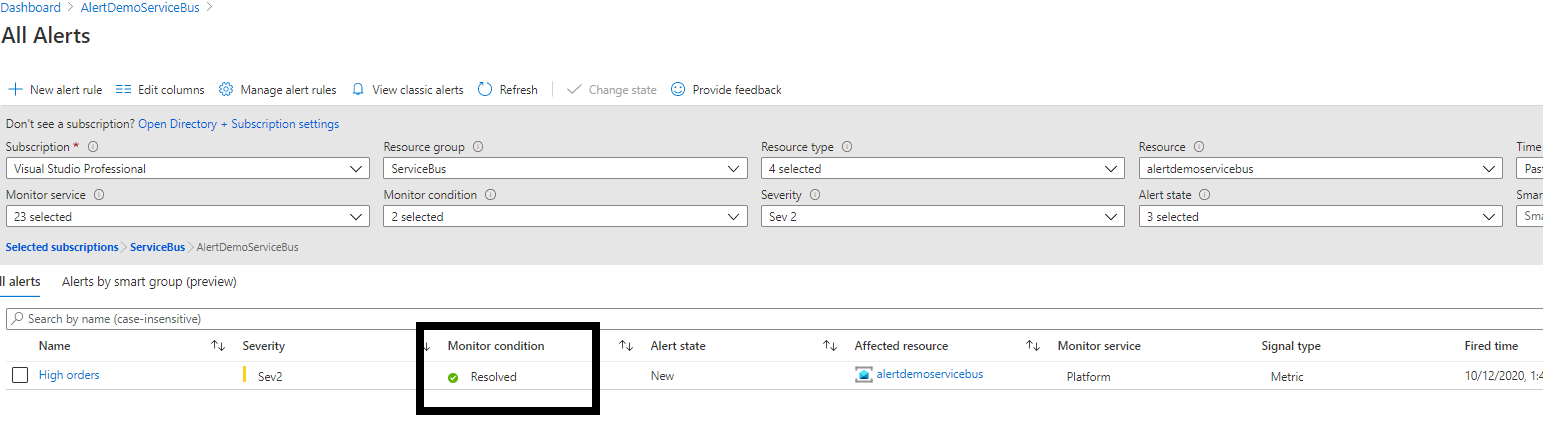
After 5 mins, we can see an alert for Sev 2 raised for our queue in Alerts section of our service bus namespace.

And an email sent to our registered email address from azure-noreply@microsoft.com

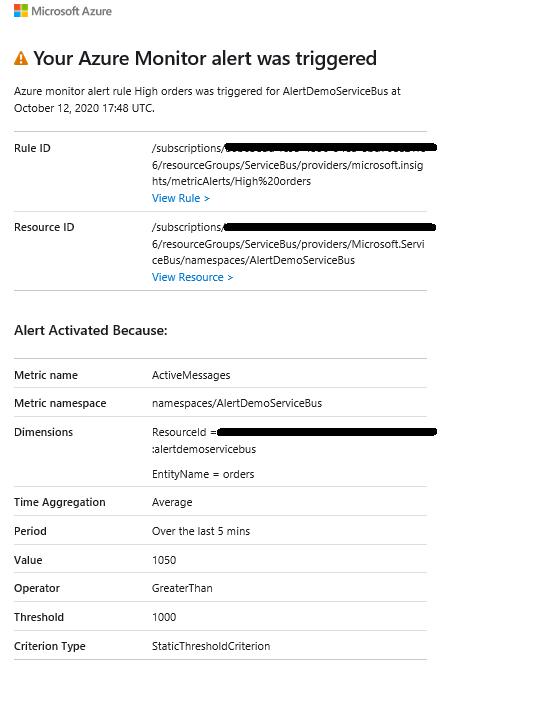
In the details, notice the alert state.

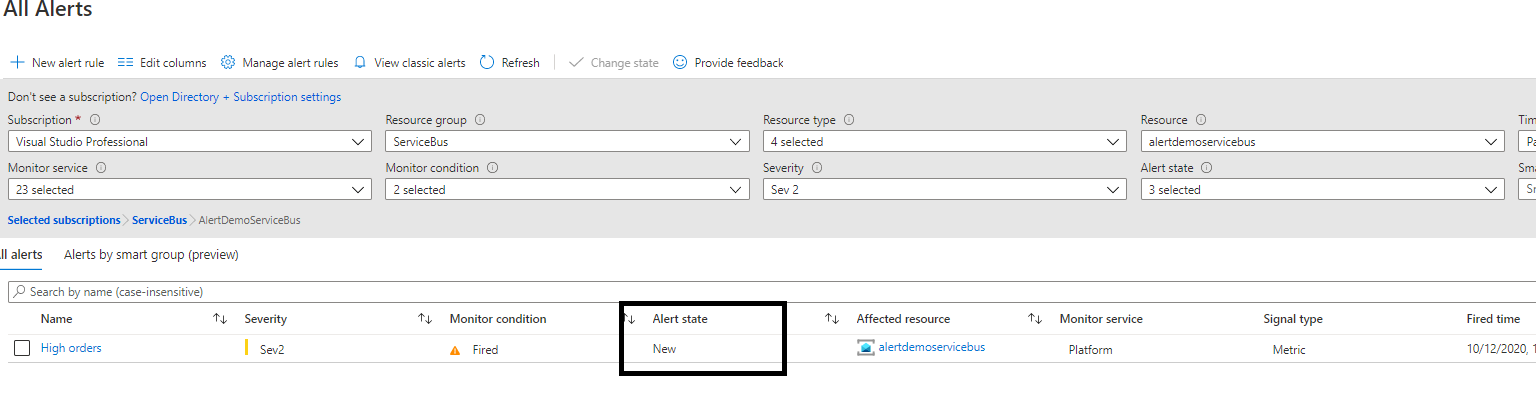
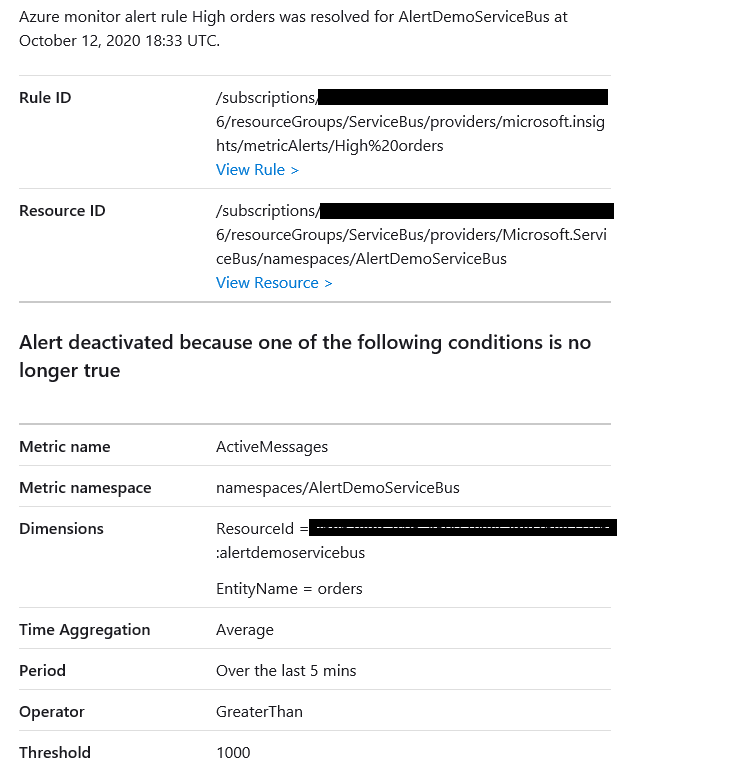
Once the queue count goes down, the state automatically changes to Resolved

and we also get an email notification about this progress.

Thank you!!